How To Enable And Disable Fast User Switching Windows 10: Hacks At Your Fingertips!

Since, you can understand from the title itself that, I am going to have a word with you on how to enable and disable the fast user switching windows 10.
The fast and furious feature in the window 10 allows the user to login without interrupting others. Multiple users can work simultaneously at the same time without any hurdle.
Simply, it means no one is going to get affected your work and vice-versa. Therefore, no verbal fights related to work.
Everyone is like okay with you.
Is that true? Let’s talk more about; How to disable and enable fast user switching windows 10.
Hacks For Enabling and Disabling Fast User Switching Windows 10
Now, the word strategy sounds very interesting, because when someone says strategy; it means we gonna know loops and holes. So let me explain you the loops and holes about how to disable fast user switching windows 10.
Hack (I): Enable The Fast User Switching with Window Policy
Well, you have to bear me, you have to do what I command. Is it fine with you?
Go sparingly step by step
-> You have to run a particular command in your in your dialog box -> with the help of your fingers or thumb whatever you desire, press the WINDOW key and R key right from your keyword -> Run dialog box in the newly opened, type msc; -> Press enter key.
Here we go!
While you get local group policy opened on your screen, step ahead into this:
-> Local computer policy; -> Computer Configuration; -> Administrative templates; -> System; -> log on; -> Open- (Hide entry points for fast user switching);
- To turn off Fast User Switching, select the option Enabled;
- To turn on Fast User Switching, select the option Disable;
It is as simple as it sounds, so you have learned how simple it is to enable the fast user switching windows.
Try for this.
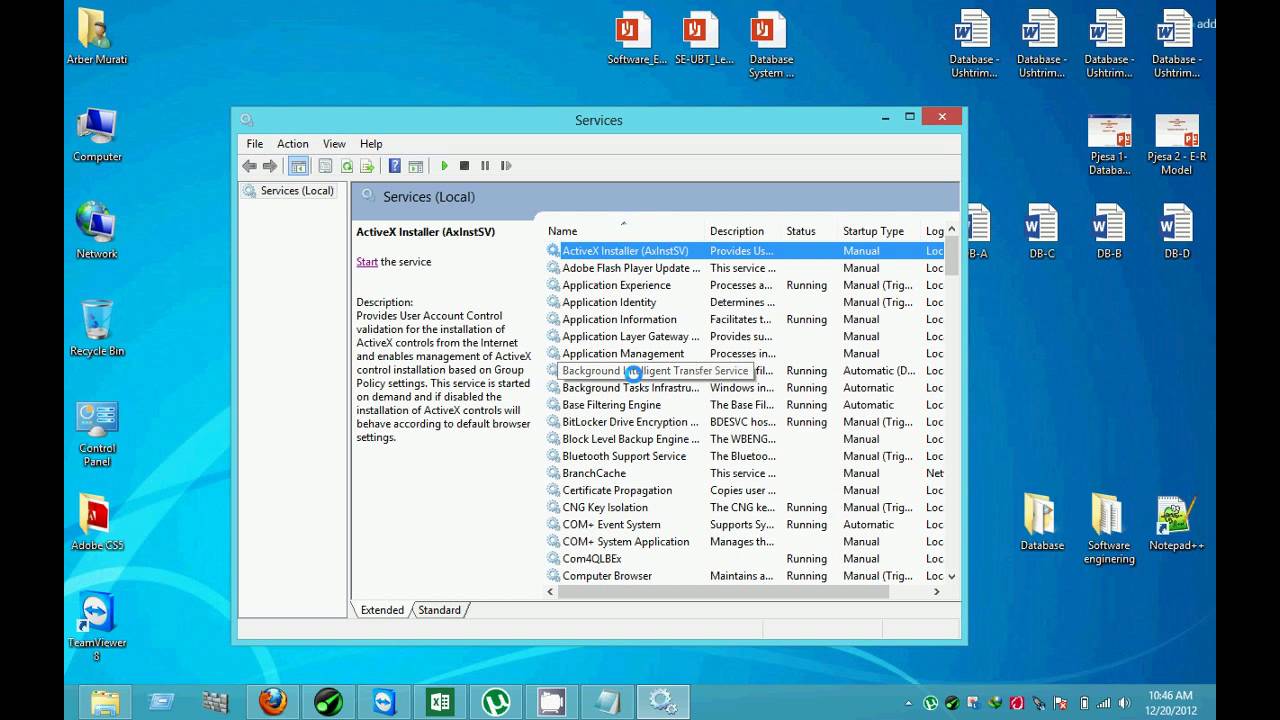
Hack (2): Enable Fast User Switching with Windows Registry
You have to repeat the same process, use run dialog box, but this time you are going to type different command. Let me explain to you about how to disable and enable fast user switching windows 10.


Do accordingly what I am asking you:
- -> Press the WINDOW key along with R with the help of your fingers.
- -> Type regedit; in a newly opened dialog box.
- -> Now, tap the enter key.
- -> HKEY_LOCAL_MACHINE
- -> SOFTWARE -> Microsoft
- -> Windows -> Current Version
- -> Policies -> System
While your registry editor opens in your desktop, step here.
You have to identify the value and type “HideFastUserSwitching” and double-click on it.
Go to Value data and;
- Set it to 1 to disable the Fast User Switching.
- Set it to 0 to enable the Fast User Switching.
Now, you can see how simple it is actually, which you were thinking of is a big deal. How to disable and enable fast user switching windows 10 is very really a free hand task.
But wait! Stay with me, I have to tell you more.
Important: If you are unable to find HideFastUserSwitching, you need to create it:
- Make a Right-click at the folder System.
- Press click at New DWORD 32-bit value.
- Type it in the name of the that you want to create HideFastUserSwitching.
- Tap the Enter key and here you go
In The Nutshell
Well, I have talked about the hacks and shortcuts about how to disable fast user switching windows 10. You can try these, even you can cram these at your fingertips.
How to disable fast user switching windows 10 is as simple as it sounds. I have explained you in detail. Tell me if you have some queries regarding how to disable fast user switching windows 10. I would love to help you.