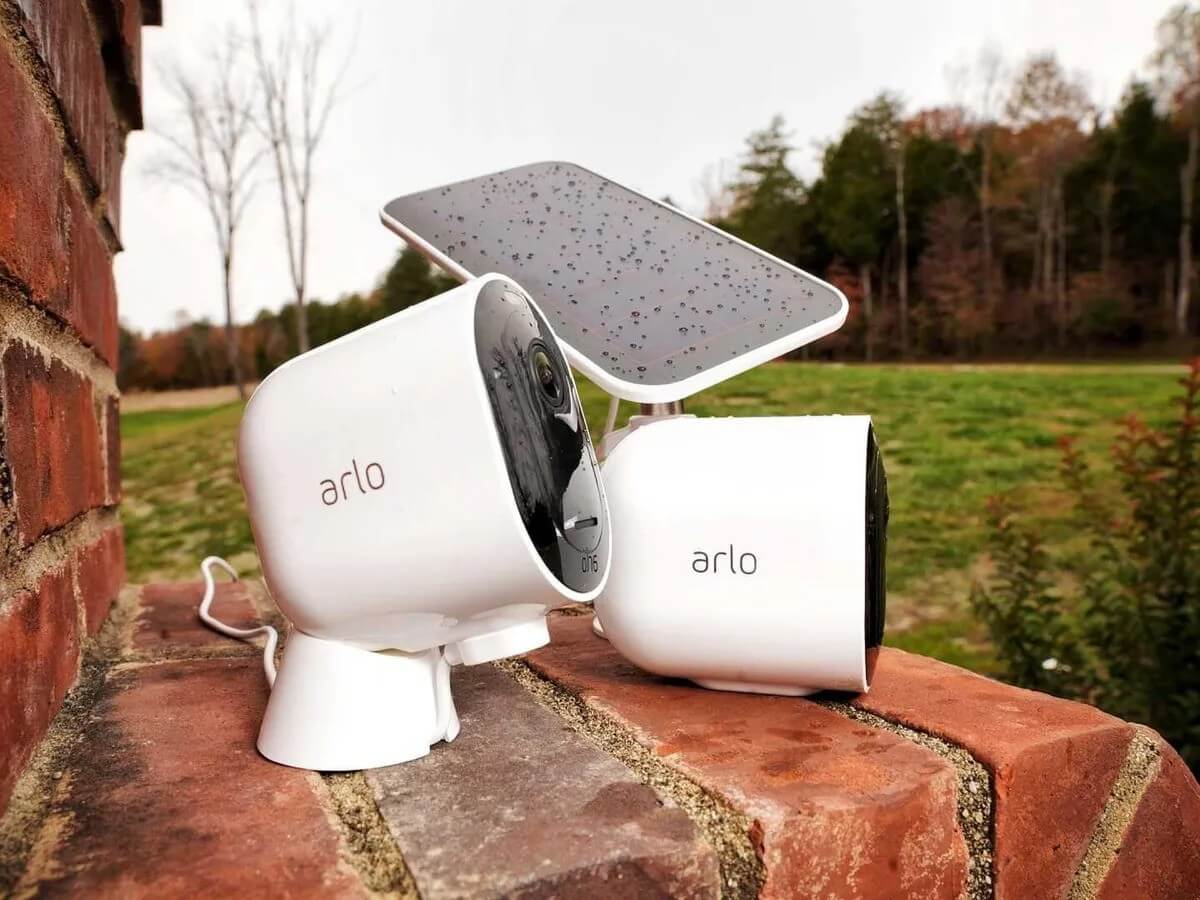
Arlo camera is a wireless HD security camera that can be used indoors and outdoors. It is the best home surveillance camera and is the best way to add security to your front door.
However, to enjoy all its features, you need a complete Arlo camera setup. But there are many users who don’t know how to accomplish this. If you have recently owned the Arlo security camera, but don’t know how to set up and install it.
Well, there is no need to get upset, as we have got you covered. In this, you will get an easy-to-follow brief guide on how to Arlo camera setup. However, Arlo login does not require too much workaround.
If you are unable to do it on your own, then the following instructions will definitely help you out. Go through the following step-by-step guide to setup Arlo camera. Below are some sections you should look at.
Easy Installation Guides for Arlo Camera Setup
The Arlo login is not as complicated as you think, it is much more straightforward than you think. To install the camera, all you need to do is follow the provided simple and easy-to-understand instructions.
1. Download the Arlo Camera App
To setup Arlo camera, the foremost thing you should have is the Arlo camera app. The app walks you through the setup process and also lets you change camera settings.
You won’t be able to install the camera without the app. So, it is necessary to have a camera app. You can easily download the app from the App Store or the Google Play Store depending on your device.
2. Create an Arlo Account
Once you have downloaded the app, you need to log into your account. So, if you already have an account, then simply log in with your username and password. But if in case, you don’t have an Arlo account, then you need to create one.
To create an account, launch the app on your phone. Then click on sign up for a new account. After that, follow the on-screen instructions and enter the required information to create an account.
3. Turn the Arlo Camera On
Once you have successfully created the, you need to turn on the camera. Firstly, identify the camera whether it is wireless or wired. If it is a wireless camera, then you need to insert the batteries.
If the light blinks amber, then you need to charge the battery. But if you see a blinking blue light, then skip changing. For a wired camera, you need to be within 6 feet of an outlet. Arlo also sells solar panel chargers for outdoor cameras.


4. Connect your Camera to the WiFi
The next step for the Arlo camera setup is to connect it to the WiFi. You have to follow the in-app instructions for connecting it to your WiFi network. Simply, enter the name and password of your wireless network.
Also, ensure that the camera does not work with a 5 GHz WiFi network. Instead, you need a 2.4 GHz network.
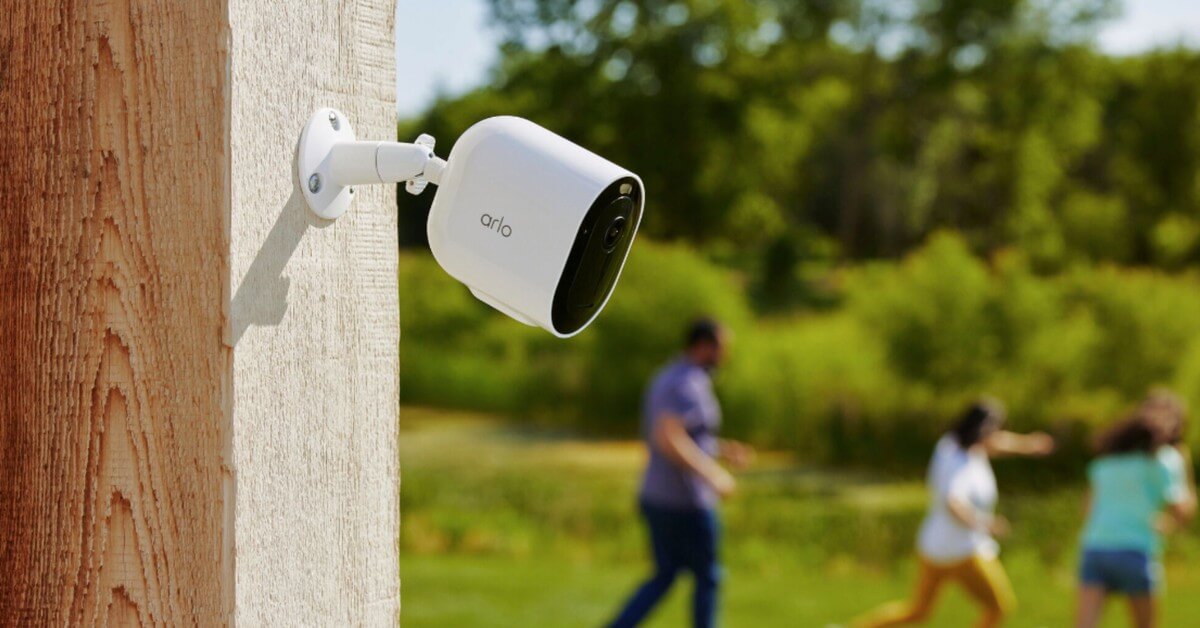
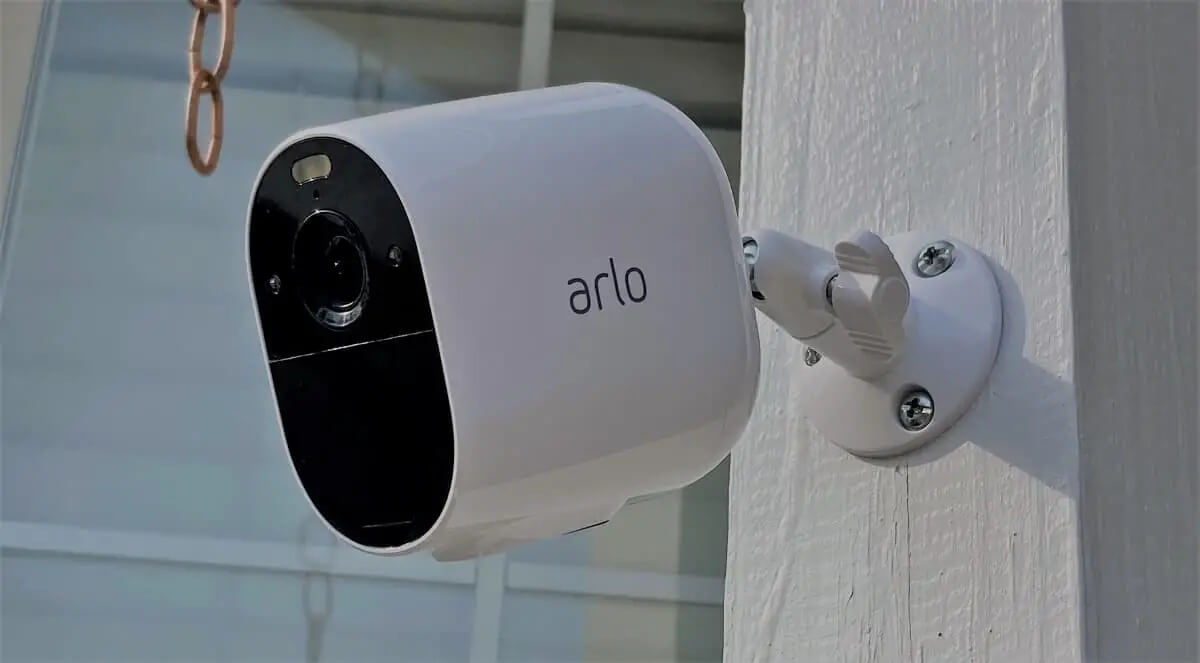
5. Place your Arlo Security Camera
After connecting it to the WiFi network, now you need to place the camera at the desired location. If you choose to mount the camera, then install it at least 6-7 feet above the ground.
This is the best vantage point for capturing video footage and motion detection without any difficulty.
6. Adjust the View of the Camera
Although most of the Arlo cameras have a wide field of view to capture tons of the activity. In this, you can adjust the camera for a better view and allow more accurate motion detection, notifications, and recording.
— How to Position the Arlo Camera?
Using the Arlo camera positioning settings, you can adjust the view of the camera in real time with very little lag. These settings allow your camera to send video quickly, so you don’t need to wait for long. Here is how to use the positioning setting.
- Open the Arlo app on your phone and go to the Settings tab.
- Then click on My Devices.
- After this, choose the camera you want to adjust.
- Next, choose Device Utilities and then Camera Positioning.
- Now Adjust the camera while looking at the Arlo app.
- While adjusting the camera, ensure it sees all the areas you want.
7. Test the Motion Detection Feature of the Camera
Once you have installed the camera properly. Now ensure that you also check the motion detection feature of the camera.
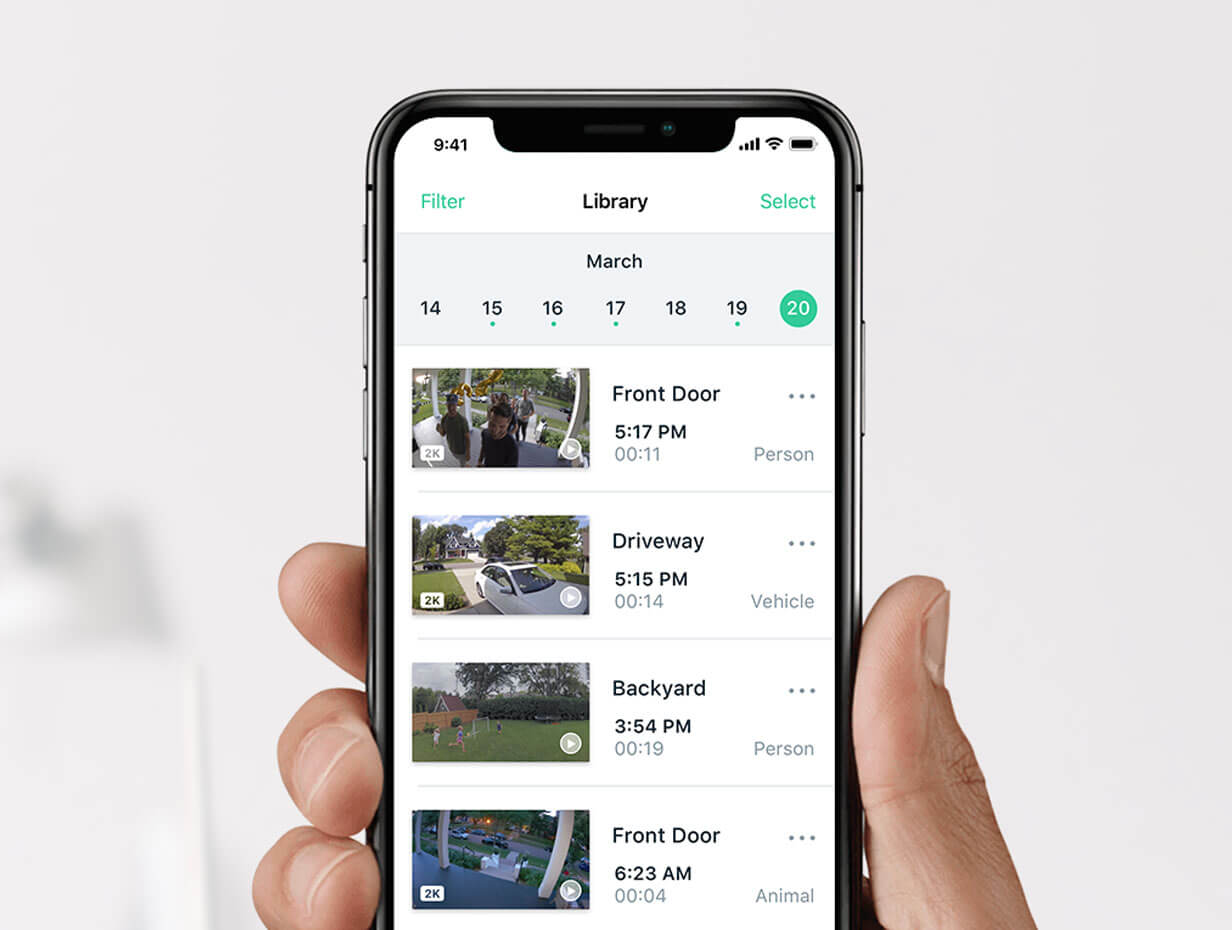
Arlo cameras depend on motion detection to know when to initiate recording. This allows you to test the motion detection effectiveness and adjust its sensitivity using the Arlo app.
— How to Test the Motion Detection Feature of the Arlo Camera?
Follow the below instructions, if you want to test the efficiency of the motion detection feature of the camera.
- On the Arlo app, navigate to Settings and choose My Devices.
- Next, choose the camera you want to test and click on Device Utilities.
- Then click on Motion Detection Test and this mode tells the camera LED light to blink amber.
- Now move around the area you want the camera to monitor to see if it catches all the activity.
- You can also modify the motion sharpness slider, to see if the camera is too sensitive or not.
- The sensitivity settings are not everywhere, change your arming mode to check as required.
Sum up
If you don’t know how to accomplish the Arlo camera setup. Then the above effective and effortless instructions will definitely help you out. Hope this will help you with the Arlo login.
If the above-provided guide won’t help you, then try to get in touch with Arlo customer service. They will provide you with full assistance and also help you to set up Arlo camera.
Because our Arlo camera experts have complete knowledge and they have been resolving issues related to the Arlo camera or its setup for a long time.