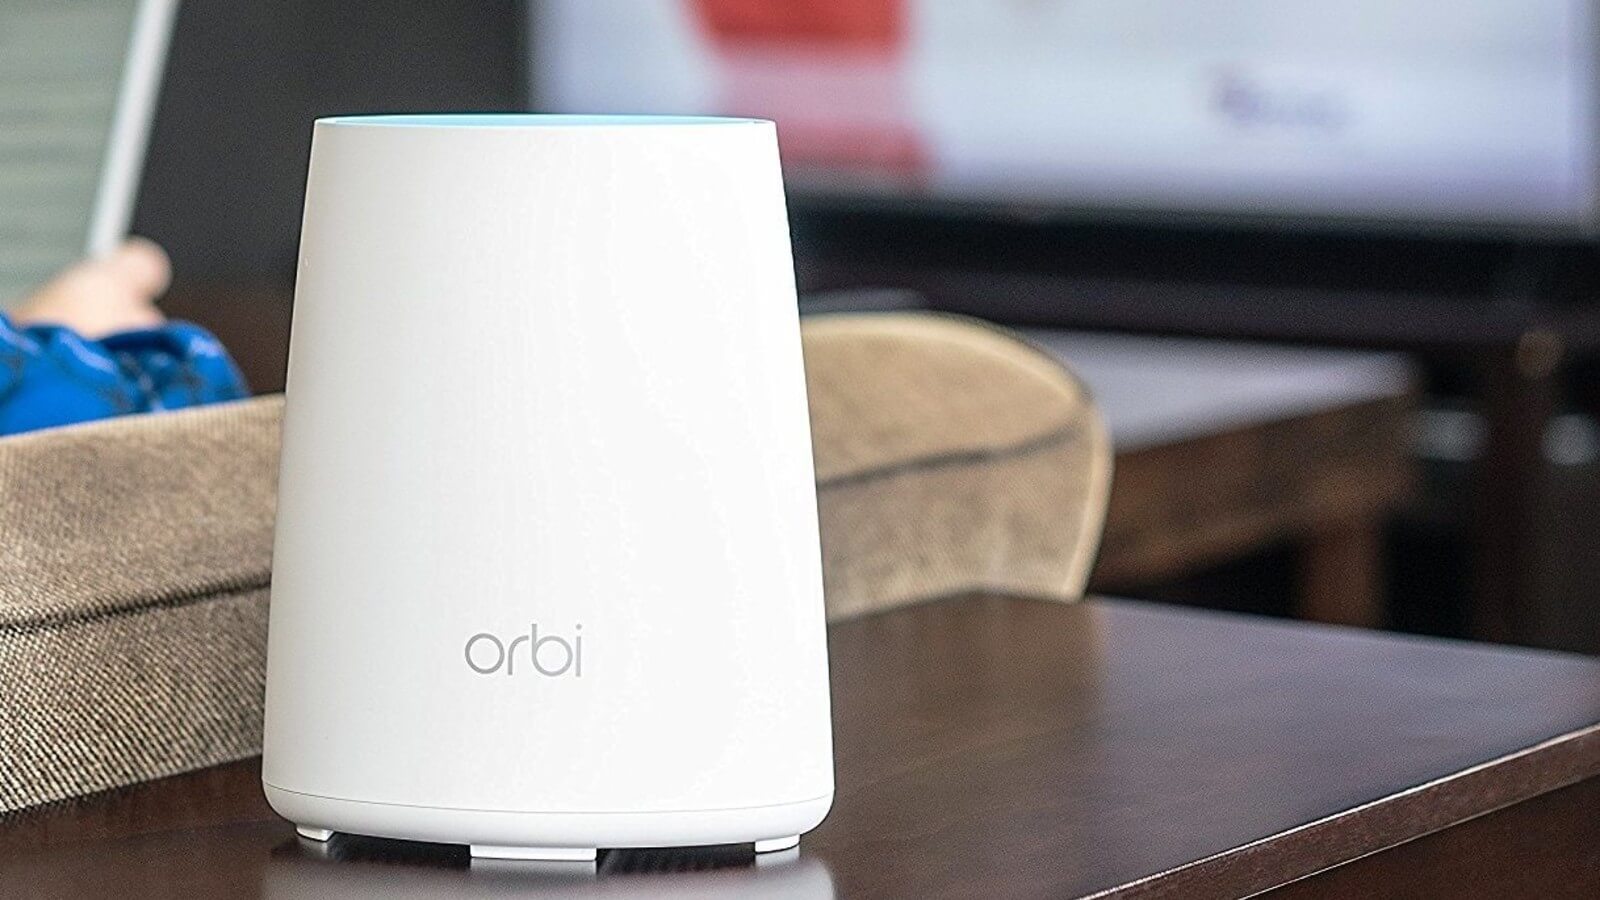
Do you also have a Netgear Orbi device? Hopefully, it provides the best internet connection to you. Mostly everyone has Orbi because of its specialties of providing connection options.
You will never have any issue with Orbi if you will set up your device properly. And to get full access to your Orbi we will guide you to setup Orbi devices properly.
This article would be really going to benefit you a lot but only if you read it properly and also follow it accurately.
We are very thankful to you for choosing us. We will fully make sure to take you out of the trouble that you are dealing with.
Is It Hard To Setup Orbi?
No, nothing is hard to do with the Orbi setup. You can easily setup Netgear Orbi with the help of the steps mentioned in this article.
We would like to clear you that if you are going to setup Netgear Orbi on your own then make sure to not skip any of the steps stated below.
Before moving ahead, let’s check out the required things;
Before You Begin
Before diving into the setup process, make sure you have the following:
- Your Orbi router and satellite(s).
- A stable internet connection from your Internet Service Provider (ISP).
- A computer or mobile device with Wi-Fi capability.
- Ethernet cables (usually included with your Orbi system).
- A power outlet for each Orbi unit.
Here Are The Smart Steps To Setup Orbi
Dear users, you can also take Orbi setup help for quick solutions. To setup Orbi on your own, the steps are shared below and kindly follow them properly.
Are you ready to overcome your trouble on your own? Brilliant, just have a look below carefully.
1. Unbox and Connect Hardware
Start by unboxing your Orbi router and satellite(s). Place the router near your modem and the satellite(s) at strategic locations to maximize coverage. Follow these steps:
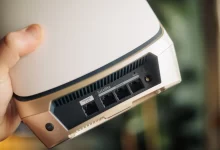
- Connect the provided Ethernet cable from your modem to the yellow Ethernet port on the Orbi router.
- Plug the Orbi router into a power outlet and wait for it to boot up. The Power LED will turn solid white.
- Place the satellite(s) in different areas of your home. Connect them to power outlets and wait for the Power LED on each satellite to turn solid white.
2. Download the Orbi App
For a user-friendly setup process, download the Orbi app on your smartphone or tablet. It’s available for both Android and iOS devices. You can also set up your Orbi through a web browser if you prefer.
Follow the below steps to download and install Orbi App on Android/iOS.


For iOS (iPhone/iPad) Users:
- Open the App Store: On your iOS device, tap the “App Store” icon on the home screen.
- Search for “Orbi”: In the App Store’s search bar (top-right corner), type “Orbi” and press “Search.”
- Locate the Orbi App: In the search results, you should see the “Orbi” app by NETGEAR. It has an orange icon with the Orbi logo. Tap on it.
- Download the App: Tap the “Download” or “Get” button next to the app’s icon. You might need to enter your Apple ID password or use Face ID/Touch ID to confirm the download.
- Wait for Installation: The app will be downloaded and installed on your device. Once the installation is complete, the app’s icon will appear on your home screen.
- Open the Orbi App: Tap the Orbi app icon to open it.
For Android Users:
- Open Google Play Store: On your Android device, find and tap the “Google Play Store” app from your app drawer or home screen.
- Search for “Orbi”: In the search bar at the top of the Google Play Store, type “Orbi” and press the “Search” button.
- Locate the Orbi App: Look for the “Orbi” app by NETGEAR in the search results. It has an orange icon with the Orbi logo. Tap on it.
- Install the App: Tap the “Install” button. You might be prompted to grant necessary permissions to the app. Once granted, the app will begin downloading and installing.
- Wait for Installation: The app will be installed on your device. You can access it from your app drawer or home screen once the installation is complete.
- Open the Orbi App: Tap the Orbi app icon to open it.
3. Launch the Orbi App and create an Orbi Account
Open the Orbi app on your mobile device. If you prefer to set up using a web browser, open your preferred browser and enter “https://orbilogin.com” in the address bar.
If you are using Orbi app for the first time, you’ll need to create an Orbi account. Creating an Orbi account is essential for managing and configuring your Orbi router and satellite(s) using the Orbi app or web interface.
Here are the steps to create an Orbi account.
Using the Orbi App:
- Download and Install the Orbi App: If you haven’t already, download and install the Orbi app on your smartphone or tablet from the App Store (for iOS devices) or Google Play Store (for Android devices).
- Open the Orbi App: Tap on the Orbi app icon to open it.
- Get Started: On the app’s welcome screen, tap on the “Get Started” or “Sign Up” option. This will begin the account creation process.
- Provide Your Information: You will be prompted to enter some information to create your Orbi account. Typically, this includes:
- Name: Enter your full name.
- Email Address: Provide a valid email address.
- Password: Choose a secure password for your Orbi account.
- Confirm Password: Re-enter the password to confirm it.
- Agree to Terms: Read and accept the terms and conditions of the Orbi service by checking the box indicating your agreement.
- Create Your Account: Tap the “Create Account” or similar button to finalize the account creation process.
- Verification Email: Check your email inbox for a verification email from NETGEAR. Open the email and click on the provided verification link to confirm your Orbi account.
- Account Verification: After clicking the verification link, you may be directed to a web page confirming that your account has been successfully verified.
- Log In: Return to the Orbi app and log in using the email address and password you provided during the account creation process.
Using the Web Interface:
- Open a Web Browser: On your computer or mobile device, open your preferred web browser.
- Access the Orbi Web Interface: In the address bar of your browser, enter “https://orbilogin.com” and press Enter. You will be directed to the Orbi login page.
- Create an Account: On the login page, look for an option to create an account. It’s usually labeled “Create Account” or “Sign Up.”
- Provide Your Information: Fill out the required fields, which typically include:
- Name: Enter your full name.
- Email Address: Provide a valid email address.
- Password: Choose a secure password for your Orbi account.
- Confirm Password: Re-enter the password to confirm it.
- Agree to Terms: Read and accept the terms and conditions of the Orbi service, if prompted.
- Create Your Account: Click the “Create Account” or similar button to complete the account creation process.
- Verification Email: Check your email inbox for a verification email from NETGEAR. Open the email and click on the provided verification link to confirm your Orbi account.
- Account Verification: After clicking the verification link, you may be directed to a web page confirming that your account has been successfully verified.
- Log In: Return to the Orbi login page and log in using the email address and password you provided during the account creation process.
Once you have successfully created your Orbi account, you can use it to manage and configure your Orbi router and satellite(s) through the Orbi app or web interface. This account is essential for accessing and controlling your Orbi network settings and features.
4. Install Orbi WiFi System
Installing is the main process to setup Orbi. If the installing process will be done perfectly then you will not get any issue while accessing the Orbi.
So, now we will guide you on how to install the Orbi WiFi system properly. Just have a look below.
- Download the Orbi app via App Store or Play Store on your mobile.
- When it gets downloaded, tap on it to open.
- If you have already an account there then kindly do sign in,
- Or, you can create a new account if you do not have an account there.
- Now, click on the Login option.
- You will see “Do you want to install a new NETGEAR product?” on your screen, if it is screening then click on the “Yes” option.
- Now, Orbi will ask you to allow the camera, kindly tap on the “Ok” option.
- Do not be surprised with the camera open on your screen, it is for scanning.
- You have to scan the QR code which is at the back of Orbi.
- Kindly follow the instructions and press next after it.
- Now, Orbi will ask you to join the WiFi network, press “Join” to allow it.
5. Update Firmware
After the initial setup is complete, the Orbi system will check for firmware updates. If an update is available, it’s recommended to install it to ensure your system is running the latest software.
Outdated firmware can lead to various issues, including the blinking white light problem. To check for and update the firmware on your Orbi devices, follow these steps:
- Open a web browser on a computer or mobile device connected to your Orbi network.
- Enter “https://orbilogin.com” or “https://192.168.1.1” in the address bar and press Enter.
- Log in using your Orbi admin username and password.
- Navigate to the “Advanced” tab and select “Firmware Update.”
- If a new firmware version is available, follow the on-screen instructions to update your Orbi devices.
- After the update is complete, restart your Orbi system.
If In Case
If your satellites were not detected then kindly move them slightly closer to each other and try again the process.
- When you will see “Orbi is now active” on your screen it means you are very close to completing the process.
- Kindly enter your Name and Password and enable the “Remember me” option when it becomes green then click to the next.
- Set up security questions properly then,
- Click the next option.
- Tap on the update option.
- Is “Success” screening on your device?
- Great, click on the “Continue” option.
And there your Orbi setup is done properly. You will see the features on the dashboard. If you want to set up any of them then you can simply do it from there.
Most of the users fail in this process just because of entering the wrong password. So, kindly ensure that you are not one of them.
See, how simple it was to do. We hope this article will definitely be helpful to you and you will succeed in Setup Orbi. You can now freely get full access to your Orbi without any hurdles as your Orbi is set up properly now.
Conclusion
Setting up your Orbi router and satellite(s) is a straightforward process that can significantly improve your home Wi-Fi coverage.
With the help of the Orbi app or web interface, you can easily configure your network settings, ensuring that you have a reliable and seamless Wi-Fi experience throughout your home.
Enjoy fast, uninterrupted internet connectivity thanks to your Orbi system.
Now enjoy the Orbi network without any hurdles.
Stay happy, Stay healthy…