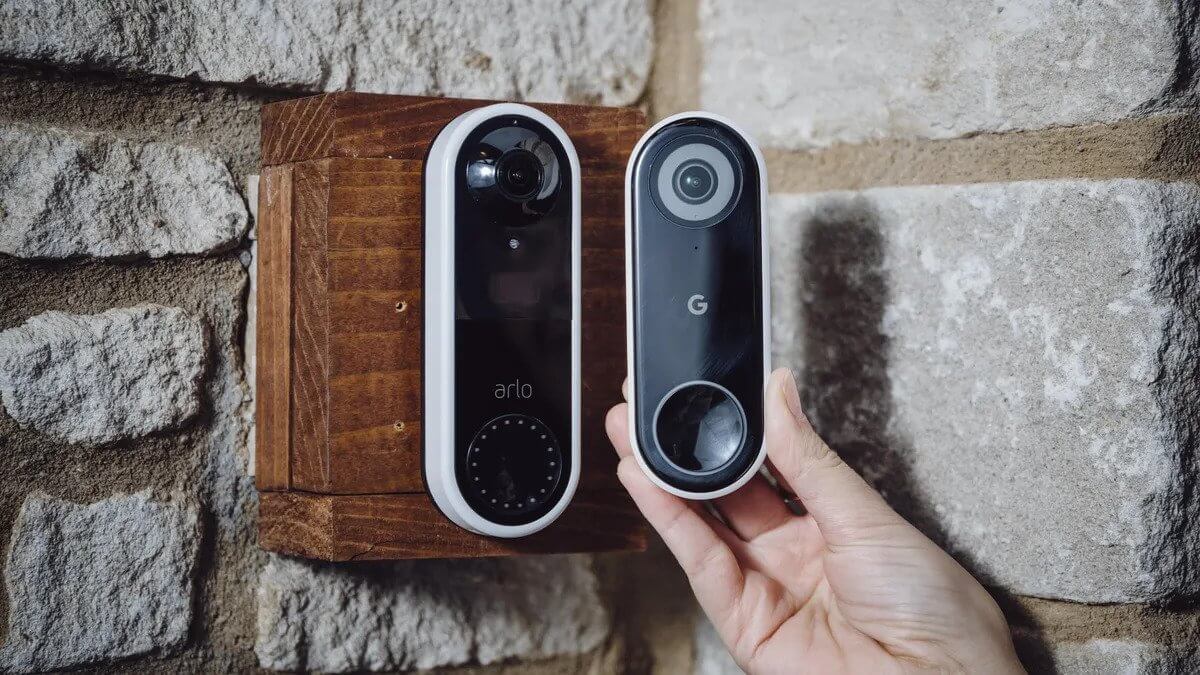
The Arlo Doorbell comes with advanced features. It has become a reliable, and the most used, doorbell. People prefer to use video doorbells in their smart homes. It is an effective way to secure a home with an Arlo video doorbell.
It is also easy to install Arlo video doorbell. The process of installing the Arlo video door is easy. Users can easily install it. Here we discuss various methods so that it becomes simple for users.
The first step is to install the power kit, video doorbell, and Arlo app. We first need to locate the existing doorbell chime and the breaker or fuse box. It is also significant to read all the instructions so that it becomes easy to install them.
Tools Needs for Install Arlo Video Doorbell
Video doorbell setup requires some tools. We need these tools:
- Screwdriver.
- There is a need for a ladder to reach the chime box.
- Users also need tape to attach wires.
The only tools we need when we use anchors instead of sticky tape for your doorbell are a power drill and a 6mm drill bit.
Methods to Install Arlo Video Doorbell
Let’s check the best way to install Arlo video doorbell.
Arlo App
Download the Arlo App on your smartphone or tablet. New users need to create an Arlo account, or existing users can log in using Arlo login icon. Upon logging into the app, select “Add new device.”
Select the Arlo Doorbell Chime and then the Arlo Video Doorbell. Choose the Arlo Video Doorbell after selecting the Arlo Doorbell Chime.
Installation of Power Kit
The first step is to install the power kit. To replace your chime box, you need to locate it. Most often, chime boxes are mounted on the wall near the front door or in the hallway.
If you can’t find it, try ringing the doorbell and following the sound to find the chime box. There is a need to turn off the MCB or fuse box. We can ensure there is no power supply to the chime or doorbell.
We can also try again to ring the doorbell to confirm that power is properly off.
There is a need to cover the chime box. It is also imperative to know that the configuration of the chime box always varies. It becomes crucial to follow every step properly. There is a need for tightening the power stations that attach to the power kit.
There is a need to attach power kit cables to the power terminals that come in chime boxes. The Arlo app also prompts it and tightens all screws. We must connect the existing chime wires to the terminals.
There may be differences in the colors of the existing wires. The Arlo app also gives us instructions on how to verify that the power kit is properly wired.
There is a film case in the power kit which is located on the backside. We can remove it and place a power kit inside. It is always good to place it in the best location so that wires and power kit don’t interfere with the function of a chime. Now we can replace the chime cover.
Doorbell Installation
Now it is time to install Arlo’s video doorbell with the current doorbell. Here we need to disconnect wires and unscrew our old doorbell. At this step, we need to be careful about wires so that they don’t fall back into a wall. We can also tape wires to ensure that they stay in place.
Press the bottom release hole to release the mounting plate from the Arlo Video Doorbell. We can install a flat mounting plate, and it also depends on the location of the video doorbell. There is an option for us to use an angle mounting plate for the best view.
We can do well with the positioning of the mounting plate. It is also vital to keep the location of all wires and holes at the bottom of the mounting plate. We can use pencils to mark drill holes.
Sometimes there is also a need to drill new holes for mounting the plate. It is vital because the current doorbell holes are at different locations.
We can now use screws to fix the faceplate and attach wires to the Arlo video doorbell. There is an option for us to connect wires to any terminal and wrap all wires carefully and screw them tight.
Connect and screw in the wires, then snap the doorbell onto the mounting plate. We can turn on its power button. There is a front light on the doorbell that turns on solid white.
We can use the Arlo app and click to continue on it for setup. It also links to the same wifi network that connects with our phone.
We can press the doorbell button so it starts a sync. It is time to place the QR code of the Arlo app on the Arlo video doorbell. It is 8 inches in front of the doorbell.
We can also give them an appropriate name so that it becomes easy for us to identify them. When it appears on the app, check for its new updates. There is also a need to follow all the instructions of the Arlo app and check our doorbell.
Arlo Smart Setup
When our doorbell is installed properly and we choose to continue. Now the app will tell us to set up Arlo Smart. There is a three-month trial for Arlo Smart, and afterward, there is a subscription. We can use them quickly after installing the Arlo video doorbell.
Wrap Up
We can quickly install Arlo video doorbell with the above methods. It becomes vital for us to follow each step accordingly. Users can also easily use the Arlo video doorbell. It works amazingly and records every aspect.
It also becomes part of a home and helps with the security of our home. The best part is that it is very pleasant to use.