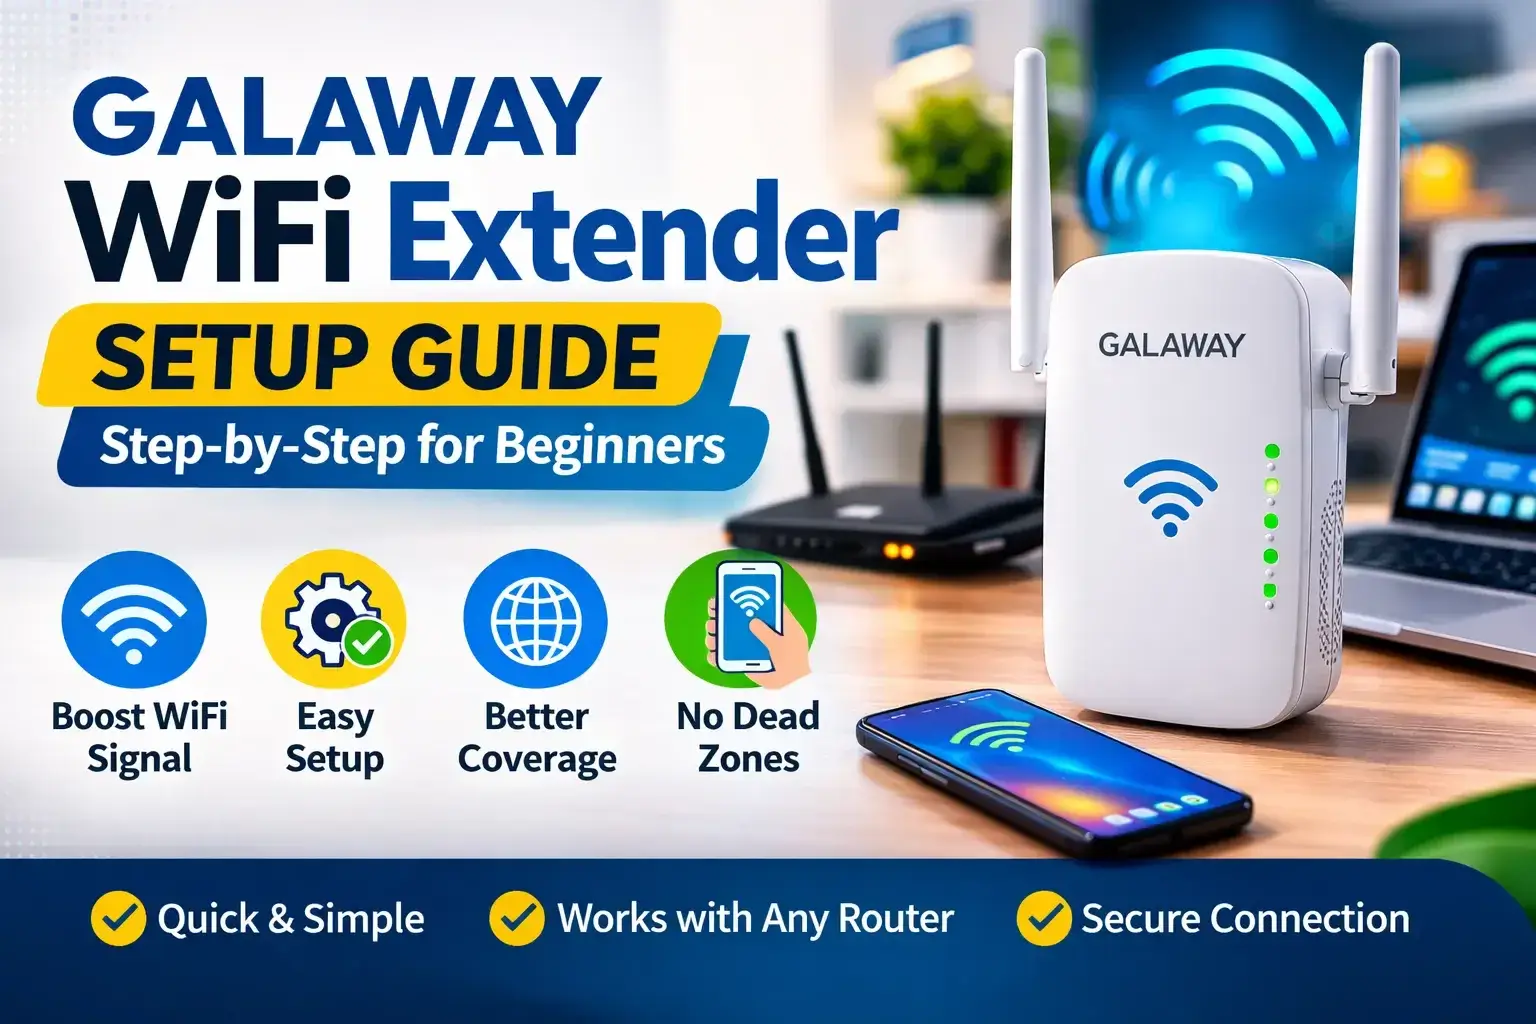
Galaway WiFi extender setup is not a challenging task, doing this is simpler than you think. But if you are a non-technical, then it is possible that you have difficulty in doing this.
Do not worry, if you are looking for how to set up a Galaway WiFi extender, then you are at the right place. Galaway WiFi extender is a device that is designed to expand the distance of WiFi signals to hard-to-reach areas and enhance signal strength.
It is a wireless repeater and is usually named a range extender. And it also stimulates the WiFi range of your current network, it is a wireless repeater utilized to boost the distance of a wireless LAN.
In this, you will get to know how to set up the WiFi extender. Now, it become essential to have WiFi signals everyplace, and our life spins around smart devices that connect to the internet.
And it is seated between the router and the device. As we know, everyone needs a wireless network at every intersection of the house. Galaway WiFi extender aids in boosting and distributing the signals of the wireless networks.
Setting up the Galaway WiFi extender setup is extremely uncomplicated you can easily do it. There are three methods via which you can Galaway WiFi extender setup, i.e., via WPS, PC, and phone.
If you want seamless internet connectivity and want to extend the length or breadth of your home network, then the Galaway WiFi extender is a great option.
But if you are not aware that you have to install Galaway WiFi Extender here are a few simple techniques for Galaway WiFi extender setup.
Things Required for Galaway WiFi Extender Setup
There are a few things that are required before setting up the Netgear WiFi extender orange light. So, ensure that you should have the following items:
- A working WiFi router
- Ethernet cable (optional but helpful)
- Computer or smartphone
- A web browser
- The extender’s default IP address
- Default login credentials (username and password)
Having these items prepared will make the setup process faster and smoother.
Galaway WiFi Extender Setup Using the WPS Button
The WPS (WiFi Protected Setup) method is the quickest way to connect your extender to the router. This method does not require entering a WiFi password.
- First, locate the WPS button on the back or side of the Galaway WiFi extender.
- Plug the extender into a power outlet near your router.
- Press and hold the WPS button on the extender for about 2–3 seconds.
- Within the next 40 seconds, press the WPS button on your WiFi router.
- Wait for around 30 seconds while the extender pairs with the router.
- Once connected, the LED indicator on the extender will start blinking or turn stable.
- Check your device’s WiFi list and look for the extender’s SSID (network name).
- Connect your device to this network.
After completing these steps, your extender will start boosting the router’s WiFi signal automatically.
Galaway WiFi Extender Setup via Web Browser
WiFi extender is the best way to boost the coverage of the existing network. If you want to connect your Galaway WiFi extender through the web browser by using a computer or phone. Follow these instructions carefully:


- Firstly, turn the router and extender on, also make sure that you place both devices in the same room.
- Then connect the PC or phone to the WiFi extender, you can use the ethernet cable to connect the PC to the extender.
- Now launch a web browser and enter the default IP address 192.168.10.1 on the address bar of the browser.
- After this, the login page will appear, in this, fill in your default username and password and click on log in.
- Once the user interface seems, then the WiFi extender automatically scans all the available networks.
- Then choose your Galaway WiFi SSID, and fill in the valid password. It will make some minutes to connect with the router.
- Once it gets connected properly, configure the settings properly. And set up a complex SSID and password to prevent the extender from hackers and intruders.
- After this, save all the changes that you made, and reboot the WiFi extender. From now you can relocate the router and connect the device to the expander.
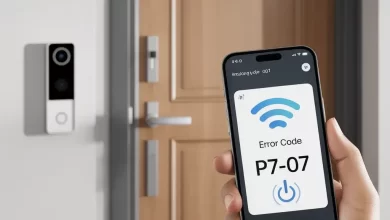
Troubleshooting Galaway WiFi Extender Setup Issues
Sometimes users may experience issues while setting up the extender. Try these troubleshooting tips to fix common problems:
- Ensure your PC and smartphone should have an adequate connection with the extender.
- Make sure the power socket is working properly, in which the extender is plugged in.
- Erase all the cache and cookies, before accessing the login page.
- Also, ensure that the web browser you are using is up to date.
- If the browser is not working, then use another browser.
- If the extender and the router are unable to form a stable connection, then move them closer.
- The connection should be proper, in order to access the login page.
- If you want to connect your phone to the extender, then you can connect from settings.
- Or if you want to connect the PC, then you can connect through the ethernet cable.
- Make sure that you are using the correct IP address, SSID, and password.
Final Thoughts
The Galaway WiFi Extender Setup process is simple and beginner-friendly when you follow the correct steps. This device is an excellent solution for improving weak WiFi signals and expanding network coverage throughout your home.
If you often experience slow internet speeds or dead zones, installing a WiFi extender can significantly enhance your browsing experience.
By following the setup methods explained above, you can quickly configure your extender and enjoy a stronger, more reliable internet connection.
If you still encounter issues during setup, consider contacting Galaway customer support or networking experts for additional assistance.