
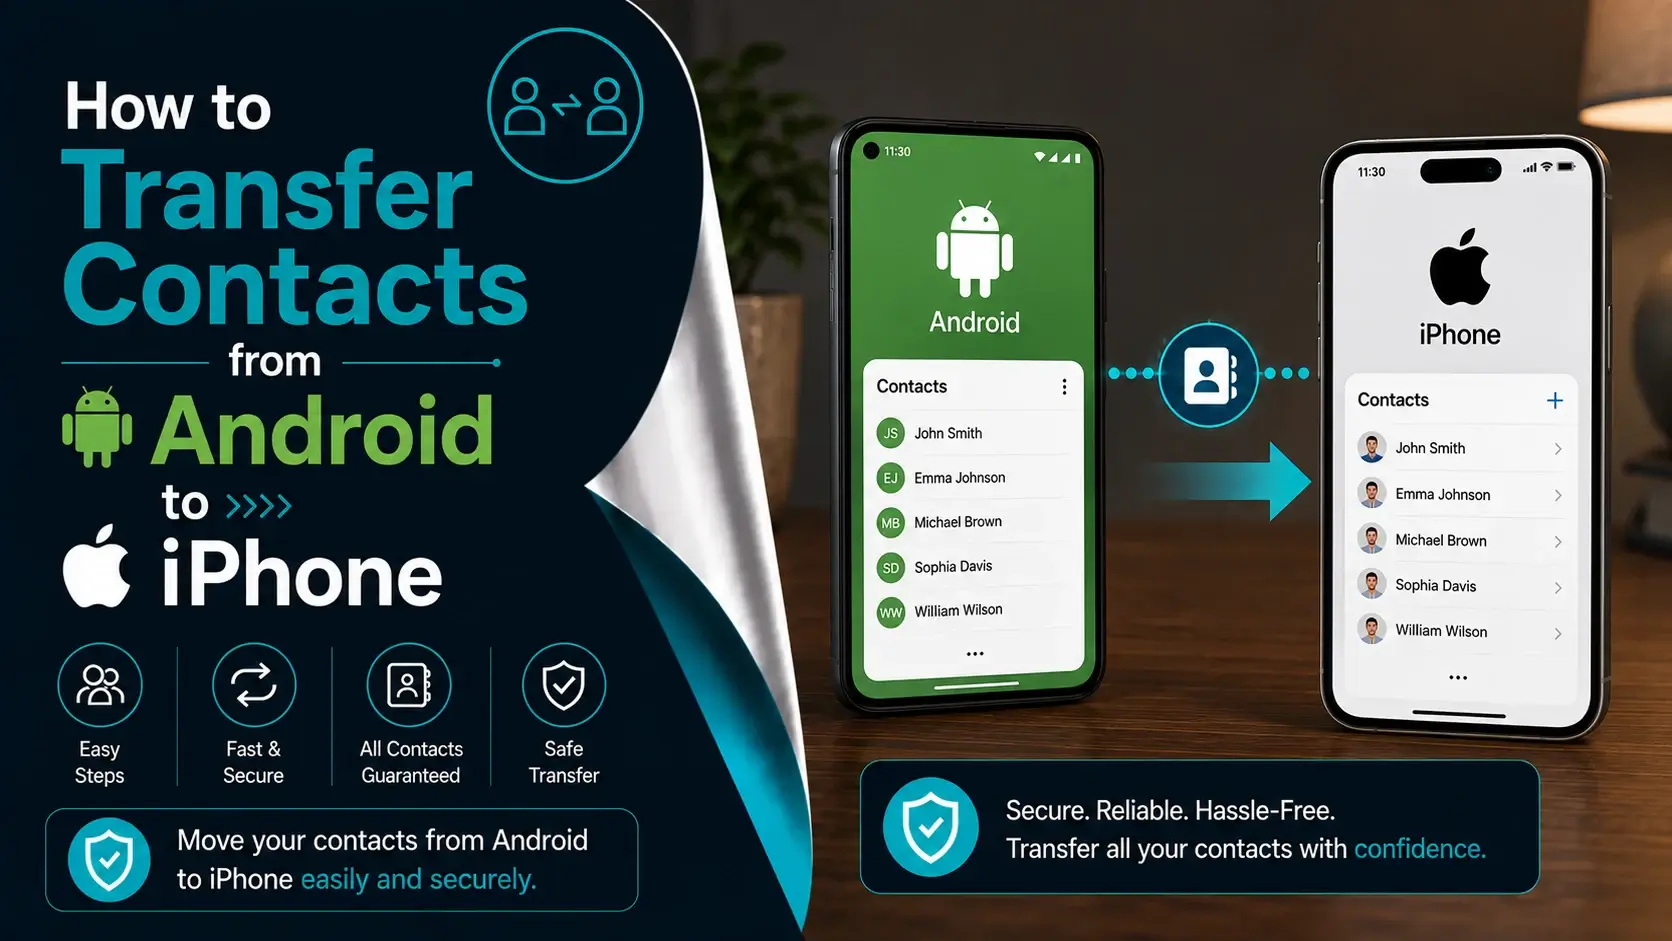
Are you having trouble to transfer contacts from Android to iPhone? Perhaps you’re trying to move to a new device, or switch to an iPhone. Of course, you can send contacts to your friends easily, but it is a little more complicated to do it for yourself.
Your contacts may contain much more than phone numbers. Depending on how they are stored, they can also include names, email addresses, company information, birthdays, profile pictures, notes, and other details. Choosing the right transfer method can help you preserve as much of this information as possible. Fortunately, there are several ways to transfer contacts from Android to iPhone. Some methods are almost completely automatic, while others are useful when you only need to move a small number of contacts.
In this article, you will find possible methods available to transfer contacts from an android device to the iPhone. Some of these might be less than convenient. At the end of the article, we’ve also mentioned one unconventional method.
So without further ado, let’s begin…
Transfer Contacts From Android To iPhone – 6 Methods
1. Move To iOS When Setting Up a New iPhone
Move to iOS is an app that is available for free on the Play Store. It is compatible with Android and allows you to transfer complete data from your smartphone to the iPhone.
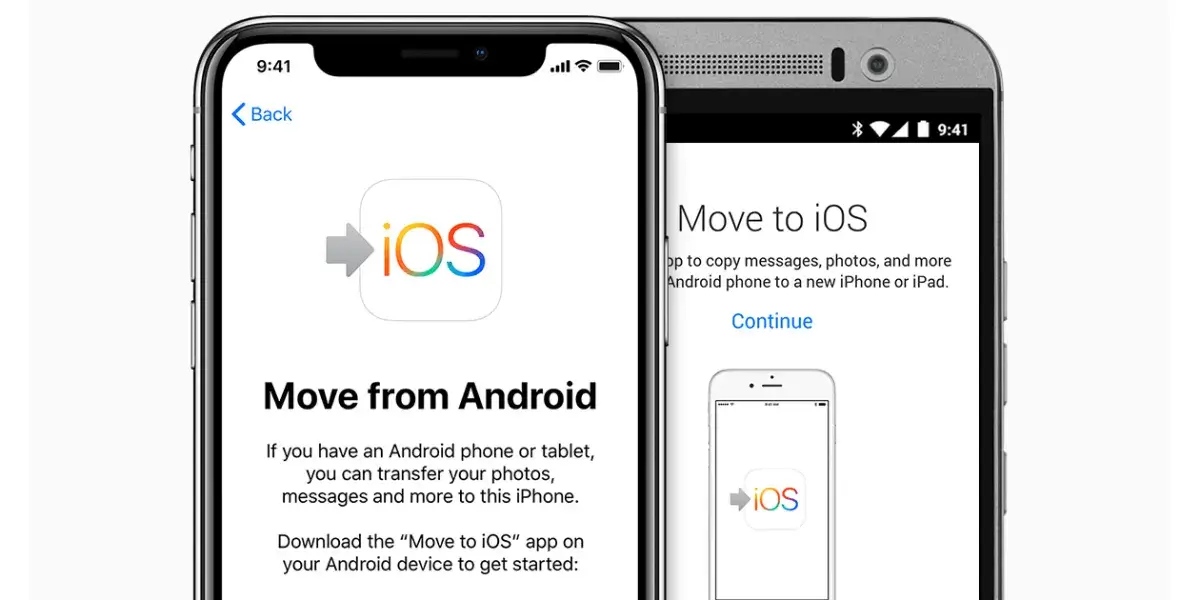
The app is designed specifically for switching from Android to iPhone. Besides contacts, it can transfer other supported information, such as messages, photos and videos, calendars, mail accounts, and certain other data. This makes it particularly useful when you want to migrate most of your phone’s content at once rather than transferring contacts individually.
The main limitation is that Move to iOS is intended to be used during the initial iPhone setup. If you have already completed setup on your iPhone, you generally need to erase the iPhone and start the setup process again to use this method.
– How to Transfer Contacts with Move to iOS:
- On your Android phone, download and install Move to iOS from the Google Play Store.
- Turn on your new iPhone and begin the setup process.
- When you reach the Transfer Your Apps & Data screen, select From Android.
- Open Move to iOS on your Android phone and follow the instructions.
- Your iPhone will display a temporary code.
- Enter this code on your Android phone.
- Connect the devices as instructed. The iPhone creates a temporary Wi-Fi connection for the transfer.
- Select the content you want to transfer and make sure Contacts is selected.
- Leave both devices alone while the transfer is taking place. Keeping them connected to power can be helpful if you are transferring a large amount of data.
- Once the process finishes, continue setting up your iPhone.
However, it is a complete transfer of data, not selective. It works if you are shifting to a new or reset iPhone.
2. Transfer Contacts Using a SIM Card Method
Using the SIM card method is another free and useful option available. Almost every cellular service provider offers a SIM card with contact storage. However, there’s a specific number of contacts it can save.
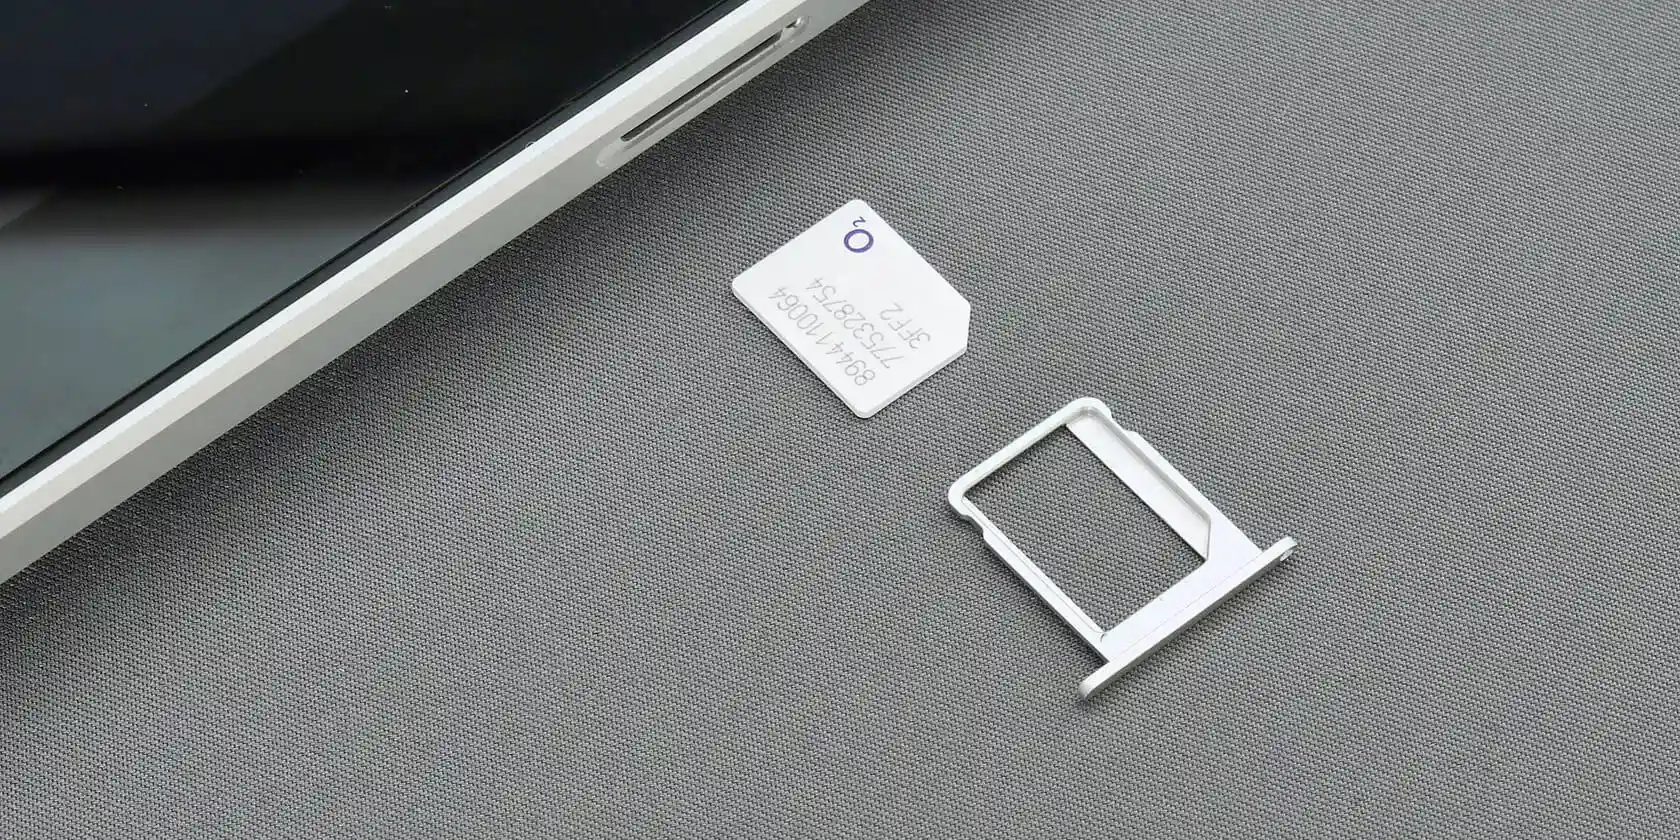
For example, depending on the phone and SIM card, you may only be able to store basic information such as a contact’s name and phone number. Email addresses, notes, profile pictures, multiple phone numbers, and other fields may not transfer.
Some can save hundreds, while others could provide up to 1,000. So, you’d have to check the SIM card to see how many you can transfer.


– How to transfer contacts using a SIM card:
- Go to the Contacts on your android phone.
- Open the Contacts settings or management menu.
- Look for an option such as Import/Export, Export contacts, or Move contacts.
- Choose the option to export or copy contacts to the SIM card, if your phone supports it.
- Select the contacts you want to transfer.
- Wait for the export process to finish. Remove the SIM card from the Android phone and insert it into the iPhone.
- On the iPhone, open Settings and go to Apps > Contacts.
- On some older iOS versions, Contacts may appear directly under Settings.
- Select Import SIM Contacts if the option is available.
- Choose where you want the imported contacts to be stored.
- That’s all! Your contacts will transfer. If you didn’t see any contact just turn off and turn on your iPhone.
This is another effective method but limited by the SIM support and number of contacts per transfer. It is free. However, it won’t contain anything other than the phone numbers. Any other data, such as email address, would be lost.
It can be time-consuming if you have too many contacts to Transfer Contacts from Android to iPhone.
3. Use Google Account For Universal Transfer
For many Android users, this is one of the most convenient methods. Thanks to Apple opening its cross-platform possibilities, you can use Google on iOS. Your Google can sync contacts from any device you have the ID on.
If your contacts are already synchronized with your Google Account, you do not necessarily have to transfer them manually. Instead, you can add the same Google Account to your iPhone and enable contact synchronization.
This is especially useful if you have been using Google Contacts for years. Your contacts remain associated with your Google Account, so they can also be available on other compatible devices when synchronization is enabled.
– First, make sure your Android contacts are synchronized:
- Open Settings on your Android phone.
- Go to Google or Accounts, depending on your phone.
- Select your Google Account.
- Find the synchronization settings.
- Make sure Contacts synchronization is turned on.
- Allow the phone a little time to complete synchronization.
You can also check your Google Contacts account from a web browser to confirm that your contacts have been uploaded.
– Then add your Google Account to your iPhone:
- Open Settings on your iPhone.
- Go to Apps > Contacts > Contacts Accounts. The exact menu can vary by iOS version.
- Select Add Account.
- Choose Google.
- Sign in using the same Google Account that contains your Android contacts.
- When prompted, allow Google to sync your contacts.
- Make sure the Contacts switch is enabled.
- Open the Contacts app and give it some time to synchronize.
- Your Google contacts should then become available on the iPhone.
Now you can log in by using your Google ID on any device. If you activate Contact Sync on that device, you will receive all contacts your Google account contains. It is reasonably convenient and would work for almost any platform.
4. Export Android Contacts as a VCF File
Another reliable option is to export your contacts as a VCF (vCard) file.
A VCF file is a standard contact format that can contain information such as names, phone numbers, email addresses, addresses, and other contact fields. Instead of transferring the entire phone, you can create a file containing your contacts and then import that file on your iPhone or through a compatible account.
The exact export option depends on your Android phone’s Contacts app.
– How to export contacts from Android:
- Open the Contacts app.
- Go to Settings or Contact management.
- Look for Export contacts.
- Choose to export the contacts as a VCF/vCard file.
- Save the file somewhere you can access from your iPhone, such as cloud storage or your computer.
- Send or move the VCF file to the iPhone.
- Open the VCF file on the iPhone.
- Follow the on-screen option to add or import the contacts.
If you have a large contact list, you may also be able to import the VCF file into a contact-management service such as Google Contacts and then synchronize those contacts with your iPhone.
5. Transfer Contacts Through a Computer
If you prefer not to connect your Google Account to your iPhone, a computer can act as an intermediary.
The basic idea is simple: first export the Android contacts to a VCF file, save that file on your computer, and then transfer or import the contacts onto the iPhone.
– A typical process looks like this:
- Open the Contacts app on your Android phone.
- Export your contacts as a VCF file.
- Transfer the VCF file to your Windows PC or Mac.
- Keep a backup copy of the file in case something goes wrong.
- Transfer the file to a location that you can access from your iPhone.
- Open the file on the iPhone and follow the prompts to import the contacts.
This approach gives you an additional backup of your contact list, which can be useful before switching phones.
– What about iTunes?
Older guides often recommend using iTunes to synchronize contacts from Android to an iPhone. However, this advice can be outdated. Apple’s device-management process has changed significantly, particularly on newer versions of macOS and Windows, and direct Google-contact synchronization through iTunes is not the straightforward universal method it once was.
For most users, Move to iOS, Google synchronization, or a VCF file is a simpler and more reliable choice today. Some people prefer this method, especially if transferring everything to the iPhone and keeping their device Apple-exclusive. There are some drawbacks, as some contacts might not be shared. It depends on the compatibility of iTunes.
5. Use a Third-Party Contact Transfer App
This is not exactly a step-by-step guide but an extra tip. There are many cross-platform apps available online. Some of them are transfer apps that enable you to transfer anything from one device to another.
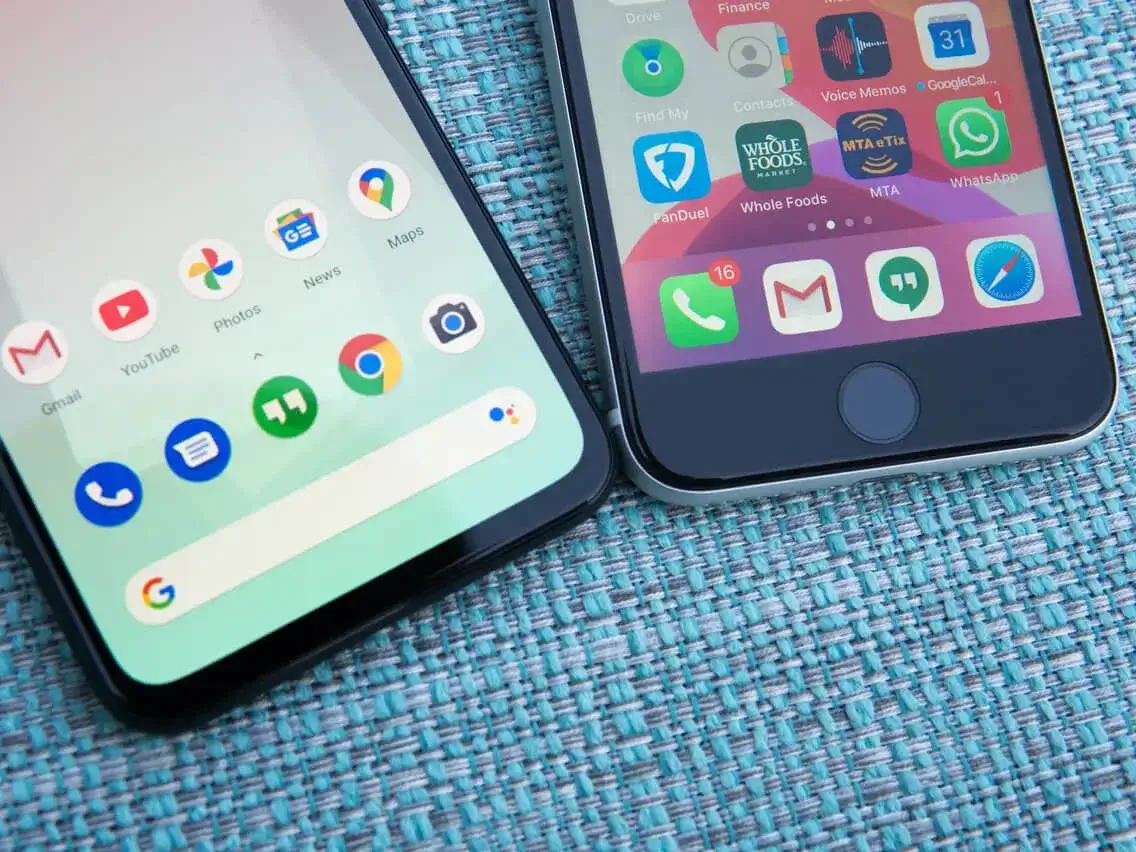
These apps can be useful when the standard methods do not meet your needs, especially if you are trying to transfer a large amount of information between two devices that use different operating systems.
However, you should be careful when choosing a third-party transfer application. A contact list can contain highly personal information, including names, phone numbers, email addresses, home addresses, and business details.
– Before installing an app, check:
- Who developed the app.
- Its privacy policy.
- What permissions it requests.
- Whether it requires uploading your contacts to an online server.
- Its reputation and recent reviews.
- Whether the app charges for features you actually need.
Avoid installing unknown apps simply because they claim to transfer data for free. A VPN does not automatically make an untrusted app safe, either. A VPN primarily protects network traffic; it does not prevent an app from accessing information that you have given it permission to access.
Alternatively, you can try using VPN to safeguard your device and connection. The free app method is up to users and an unconventional approach. More importantly, the process for each app will vary.
Which Method Should You Choose?
The best method depends on your situation.
- Setting up a brand-new iPhone: Use Move to iOS.
- Already using Google Contacts: Add your Google Account to the iPhone and enable contact synchronization.
- Want a standalone backup: Export your contacts as a VCF file.
- Have only a few basic contacts: A SIM card can work, although it is not ideal for detailed contact information.
- Prefer using a computer: Export a VCF file and use the computer as an intermediary.
- Need to transfer other types of data too: Consider a reputable third-party transfer solution after reviewing its privacy and security practices.
What If Some Contacts Are Missing?
If your contacts do not all appear after the transfer, don’t immediately assume that they have been deleted. Android phones can store contacts in several different locations, including:
- A Google Account
- The phone’s internal storage
- A manufacturer-specific account
- A work or school account
- The SIM card
- Another cloud account
Before transferring anything, check which account actually contains your contacts.
For example, if only some contacts were synchronized with Google, adding your Google Account to the iPhone will not magically transfer contacts that were stored only on the Android device.
It is also a good idea to check for duplicate contacts after completing the transfer. You may have contacts stored in both Google and another account, which can result in duplicates when multiple accounts are enabled on the iPhone.
Back Up Your Contacts Before You Start
Before switching from Android to iPhone, creating a backup is a smart precaution.
If your Android Contacts app allows it, export your contacts as a VCF file and keep a copy somewhere safe. You can also make sure your Google Contacts synchronization is complete before starting the transfer.
This gives you a fallback option if the first transfer does not work as expected.
Do not erase or reset your old Android phone until you have checked the iPhone and confirmed that your important contacts are present.
Conclusion
Transferring contacts from Android to iPhone is much easier than it used to be. You do not have to send contacts one at a time through a messaging app, and you generally do not need to manually type every phone number into your new device.
For most people, Move to iOS is the best option when setting up a new iPhone, while Google Account synchronization is one of the easiest choices when the iPhone is already set up. If you want more control over your data, exporting your contacts as a VCF file provides a useful alternative and gives you an additional backup.
The SIM card method can still work, but it is best viewed as a basic fallback because of its storage limitations and the amount of contact information it can preserve.
Whichever method you choose, take a few minutes to verify your contacts after the transfer. Check important phone numbers, email addresses, and other details before wiping or selling your Android device.
With the right method, moving your contacts from Android to iPhone can be quick, secure, and far less complicated than it initially seems.
We hope that it provides a solution to Transfer Contacts from Android to iPhone!