Are you looking for a solution to transfer photos from iPhone to PC? Well, it was notoriously inconvenient for iPhone users to transfer their photos from one platform to another.
Thankfully, now you have the flexibility to use Windows with the iPhone. If you’re looking for methods to share these photos, you’re at the right place.
Learn every known method to download photos from your iPhone (and other Apple devices) to your PC or Mac.
Transfer Photos From iPhone To PC – Best Methods
1. iCloud Option
iCloud brings you an array of features and the convenience of automatic backup. You can download iCloud photos on any device and access it through your Apple ID and Password.
It enables you to choose a manual or automated process of media (photos and videos) backup. More importantly, it saves your photos in original, unadulterated resolution and quality.
However, you need to ensure that you have apt storage available to backup photos. iCloud has a specific storage limit. Thankfully, they have the flexibility to expand your storage plan according to your requirements.
So, it wouldn’t be much of a problem. This Option is excellent as you can copy photos to any device and not just PC. You can transfer photos from one device to another, whether it’s an iPad, iMac, or an iPhone.
- Log in or create an iCloud ID that you will use across different devices.
- Setup or install iCloud in the devices you want to access it from. You can download iCloud for Windows, as well.
- On your Apple device, go to “settings” and click on your name.
- For Mac, you’d have to visit System Preferences and click on the “Apple ID“.
- On Apple TV, it is in settings under “Users And Accounts“.
- There will be an “iCloud Option“. Click on it and activate iCloud Photos.
For Windows Users:
- Download and set up iCloud for Windows.
- Go to the Photos app on your PC.
There you will find options for the app, select iCloud, and activate it.
Your automatic sync will begin.
To Copy Photos From iCloud:
On Mac, you can access iCloud. Select to drag and drop the photos on the desktop. As you do that, right-click and select Airdrop. It will enable your Mac to Copy photos. To download photos from your windows PC, you will have to follow the steps according to the version:
- Open iCloud on your PC. If you can’t find it, go to Pictures on your PC. The iCloud will be there.
- Now, if you have Windows 11, you can double click to download the photos. For Windows 7 and 10, new Photos are automatically downloaded.
- For older content, go to ‘Notification’ and find ‘Download iCloud Photos’ in the Notification. You can then browse the photos you want to download.
If you can’t find the Option in Windows 7. You can go to Explorer and use the download photos and videos option from there.
2. Copy Photos Directly To Mac
If you don’t want to use the iCloud method, there’s another option available. All you need to do is connect your iPhone to Mac through the provided USB cable.
As you do that, it might ask you for a passcode to gain access. Sometimes it even asks whether to trust the device or not. You might have to accept that. Then follow these steps:
- Open the Photos app on your Mac. Once you connect your iPhone, the Photos and Videos will appear there for you.
- If they don’t appear, you might have to select the device from the Photos app’s sidebar.
- Select the Photos you want to copy to your Mac.
- Click on Import, and the process will begin.
- If you want to copy everything, you can click on Import All.
- Let the process finish before disconnecting the device. You will have the complete collection of photos (and videos) on your Mac desktop or laptop.
3. Copy Photos To Your PC Via USB
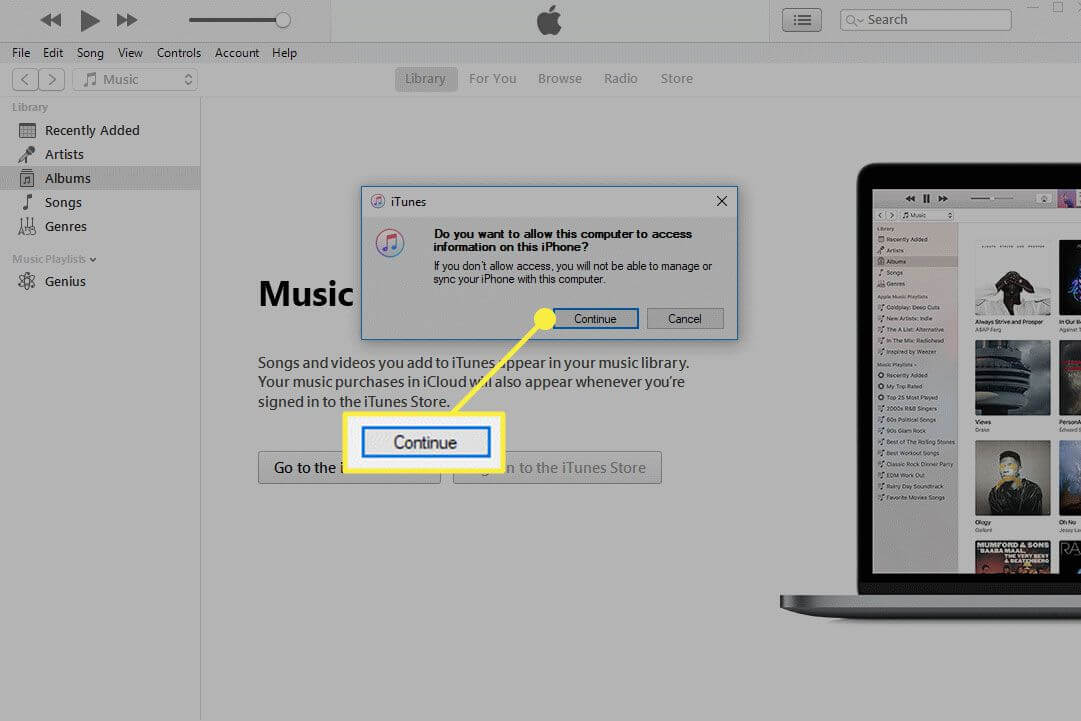
If you don’t own a Mac device, nor do you want to use iCloud, you can still copy photos to your Windows PC. However, you will need to have iTunes.
If you own an iPhone, you probably already use iTunes on your PC for security and other purposes. If you don’t, then get iTunes version 12.5.1 or any latest available.
Follow through with these steps:
- Connect the iPhone to the PC through USB. Make sure that your iPhone is on. You might have to provide a passcode and follow with the ‘trust this device’ process similar to Mac.
- Once the setup is finished, go to Start and select the Photos App of Windows PC.
- Click on Import and select your iPhone. You might have to follow through with some steps.
- You can select the files you want to import or choose all of them.
- You can only download images that are available on your iPhone device. It won’t allow you to download iCloud’s images. For that, you have to follow the iCloud method.
Conclusion
Enjoy the cross-platform sharing. These are all premium or simple methods that Apple supports. Similar to iCloud, you can use Google Photos, which offers the same function. It includes the same steps, as well.
You can follow the above-given steps also to transfer videos conveniently. Hopefully, this guide was easy enough for you to understand.
Till than take care and don’t forget to share your thoughts in the comment section below!
