
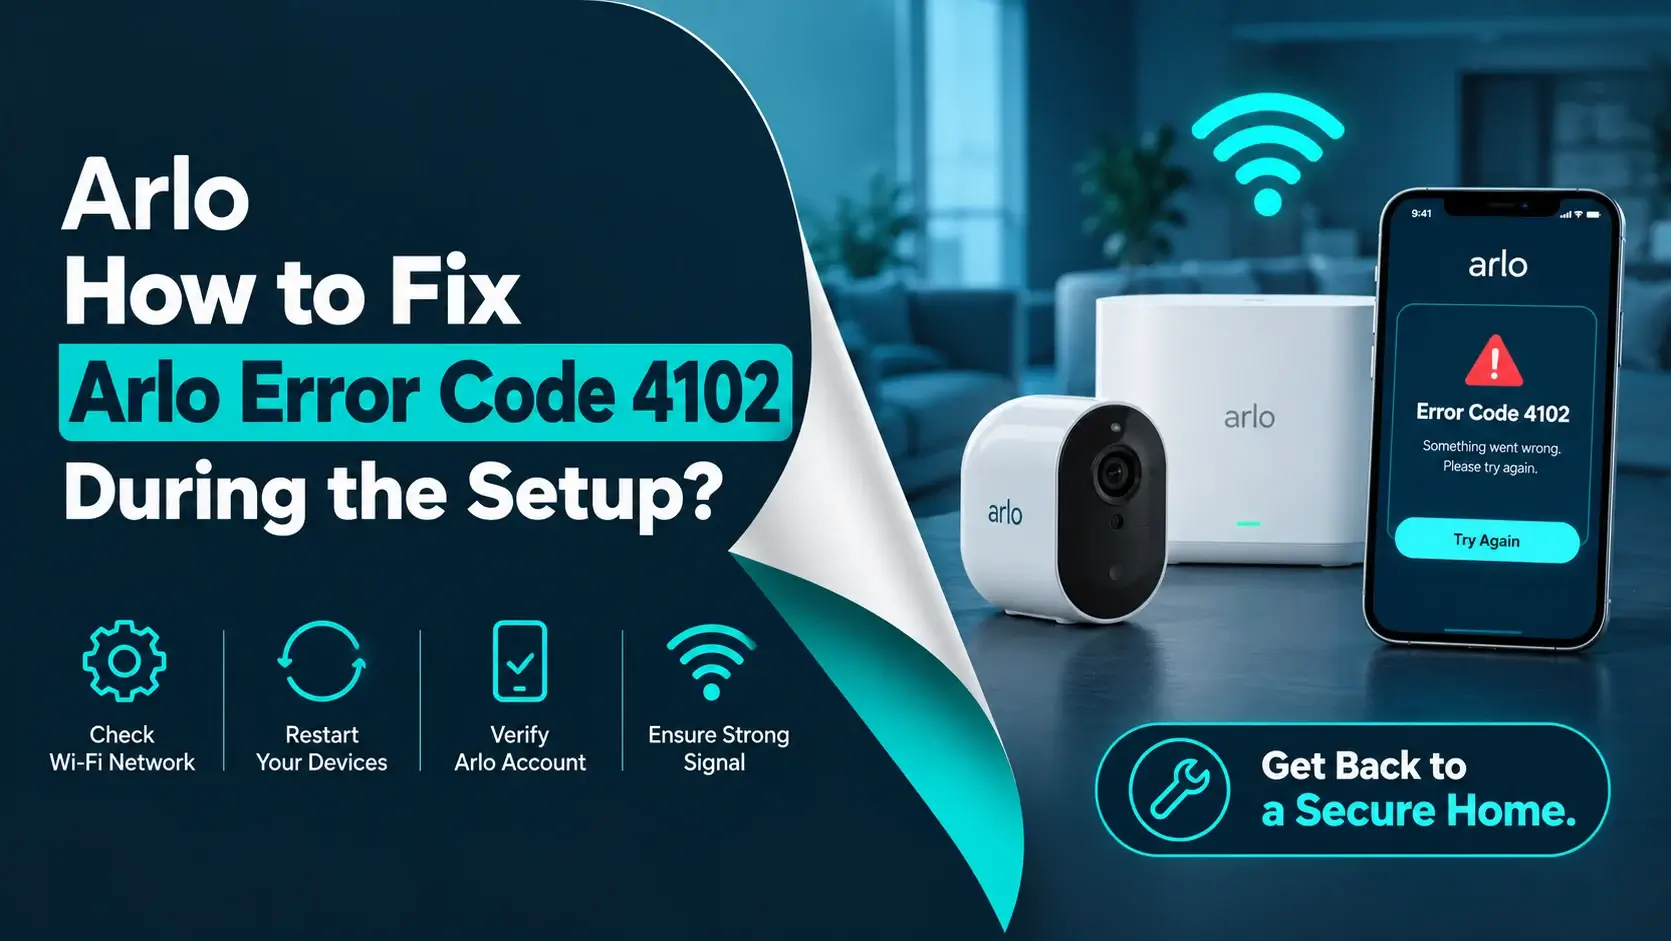
Trying to fix Arlo Error Code 4102 and still not sure why this is happening? Don’t worry; this error is because of the camera’s Wi-Fi connection, not a broken device. Arlo Error 4102 means the Arlo camera cannot connect to the Wi-Fi network during setup, which is stopping the setup process from completing successfully.
Arlo cameras and doorbells are usually designed to make you feel secure, giving you clear video and helping you monitor your place. But even a reliable security device can face issues. Seeing an error code during setup can be irritating, especially when everything seems to be working correctly with the internet.
If Arlo Error Code 4102 has just appeared on your screen, you don’t need to think that the camera is broken. The issue can be caused by an incorrect Wi-Fi password, weak network signal, an incorrect Wi-Fi band, or any temporary connection problem.
The good news is that you can easily troubleshoot this error at home by checking the Wi-Fi connection, moving the camera closer to the router, confirming the network details, and restarting the necessary devices.
So, what exactly causes Arlo Error Code 4102, and how can you get your camera connected? Let’s look at some possible reasons and discuss the fixes step by step.
What does Arlo Error Code 4102 mean?
Before trying any random fixes, understanding what Arlo Error Code 4102 actually indicates. This error appears when your Arlo camera won’t connect to your Wi-Fi network during the setup process.
Knowing what is triggering the error makes the whole troubleshooting much easier. Once you identify the main cause, you can work through the right solutions instead of trying random fixes and hoping that one will work.
What you can do after an Arlo error 4102:
- View live video feeds in the app
- Record any new motion events on the doorstep
- Receive video alerts if someone is at the door
- Change any camera settings in the app
- Talk through the two-way audio option
- Save any new video footage to the App’s cloud storage.
Let’s go into the depth of Arlo error 4102 and read what you are looking for….
Common Reasons Behind Arlo Error Code 4102
There is not always one single reason behind the Arlo error. The Arlo camera may fail to connect because of an incorrect Wi-Fi password, a weak signal, an incompatible Wi-Fi band, router issues, or a temporary network problem.
In some cases, the Arlo app or camera firmware may also need an update. So, if Arlo Error Code 4102 suddenly appears during setup, do not assume that something is seriously wrong with your device. Start by checking the simple connection issues first, as they are often the easiest to resolve.
There is not always one single reason behind the error. The Arlo camera can fail to connect to Wi-Fi because of an incorrect Wi-Fi password, a weak signal, a wrong Wi-Fi band, router issues, or any temporary network problem.
In some cases, the Arlo app or camera firmware can also need an update. So, if Arlo Error 4102 suddenly appears during the setup, do not assume that something is wrong with your device. Start by checking for connection issues first, as they are easiest to resolve.
Here are some reasons that you may not know:
- The camera is placed where the Wi-Fi signal cannot reach.
- The device is low on battery to complete setup.
- The internet connection keeps dropping or has poor strength.
- The selected Wi-Fi frequency band is incorrect.
- A temporary connection bug is affecting your Arlo camera.
- The Arlo software has an older version.
- An active VPN is creating a problem with the network connection.
Now that you know who the culprits of the error are, it’s now the time to move on to do the fixes. The good news is that most connection issues can be resolved with a few troubleshooting steps.
Let’s go through them one by one and get your Arlo device working again.
Best & Quick Verified Fixes for Arlo Error Code 4102
To fix Arlo Error Code 4102, you must start with basic troubleshooting steps them one by one. You do not have to try everything all at once. Follow each step carefully and check your Arlo camera after every step until the error is fully resolved.
1. Keep the Arlo Device Closer to the Router
A weak Wi-Fi signal can make it difficult for the Arlo camera or doorbell to connect properly during setup. If the device is too far from the router, the connection may become unstable and cause Arlo Error Code 4102.
– Try these simple steps:
- Bring the Arlo camera or doorbell closer to the router.
- Temporarily place the device indoors during the setup.
- Keep the camera within a stable Wi-Fi range.
- Remove any obstacles that can weaken the signal.
- Try setting up the device again once the connection is stable.
2. Fully Charge the Arlo Device’s Battery
A low battery can sometimes affect how the Arlo camera or doorbell works. If the battery is running low, fully charge the device before trying to do other fixes.
– Follow these steps to charge your Arlo device:
- Take the Arlo device off the wall mount.
- Bring the camera or doorbell indoors.
- Plug the charging cable into a working power outlet.
- Connect the other end to the device or its adapter.
- Let it charge until the battery is full.
- Reinstall the battery if you removed it.
- Place the Arlo device back in its place.
3. Check the Wi-Fi or Internet Before Trying Again
Your Arlo camera needs a stable internet connection to complete the Arlo setup properly. If the signal is weak or keeps dropping, it will cause connection errors. Before moving to the next fix, you need to make sure the network is working normally.
– Steps to improve the network connection:
- Connect the phone or setup device to a stable Wi-Fi network.
- Check the internet speed to make sure the connection is better.
- Bring the Arlo camera closer to the router during setup.
- Consider using a Wi-Fi extender if the signal does not reach the camera properly.
4. Make Sure You’re Using the Right Wi-Fi
Sometimes, the Wi-Fi band you choose can stop the Arlo camera from connecting properly. Check which network your camera supports and select the appropriate band before starting the setup again.
– Confirm and switch to the correct network band:
- Connect to the correct 2.4 GHz Wi-Fi network if your Arlo model needs it.
- If the device is connected to 5 GHz, switch to 2.4 GHz and try again.
- Check the router settings to see whether both the Wi-Fi bands are available.
- Set up a different 2.4 GHz network if the router combines both bands and the camera cannot connect to WiFi.
5. Remove & Set up the Arlo Device Again
If the firmware issue is stopping the Arlo camera from connecting, remove it from the app, and adding it again later will help. This will give the device a fresh start and can clear setup-related problems.
– To set up the Arlo device after the firmware update, try these steps:
- Open the Arlo Secure app.
- Go to Settings and My Devices.
- Select the Arlo camera and remove it.
- Factory reset the camera using the Sync button.
- Keep pressing the button until the light changes, as per the model.
- Open the Arlo Secure app again and click on Add Device.
- Follow the on-screen instructions to connect and set up your camera again.
6. Check for an Arlo Firmware Update
Working on an older firmware version can sometimes create connection and setup issues with the Arlo camera. If the device is not updating automatically, check for an available update through the Arlo app.
– Steps to update the Arlo firmware manually:
- Open the official Arlo app on your phone.
- Navigate to Devices & Cameras.
- Open Settings for the Arlo camera.
- Select the camera you want to update.
- Look for the Firmware options.
- Check whether a new update is available or not.
- If the update is available, install the latest firmware and wait for the whole process to finish.
7. Turn Off VPN During Setup
If the VPN or firewall is active on the phone, it may interfere with the connection between the Arlo app, the camera, and the Arlo servers. Temporarily disabling it can help the setup work without another connection error.
– Try these steps:
- Click on the Settings app on the phone.
- Look for the VPN option under the network or connection settings.
- Confirm whether the VPN is currently turned on.
- Turn the VPN off before opening the Arlo app.
- Close and reopen the Arlo app.
- Do the Arlo setup again and check whether the error is gone.
Tips to Keep Arlo Error Code 4102 away
Once you have fixed the error, the last thing you want is to see it pop up again. A few simple habits can help to keep the Arlo camera connected and make future setup or connection problems less likely.
– Keep these tips in mind:
- Charge the Arlo camera fully before starting the Arlo setup.
- Keep the camera close to the router for a strong signal.
- Make sure the home internet connection is stable.
- Use the right 2.4 GHz Wi-Fi network when required by the camera.
- Always keep the Arlo app, camera, and firmware updated.
- Restart the camera, app, router, or base station when needed.
Conclusion
Seeing Arlo Error Code 4102 does not mean that your camera is damaged or cannot work. In most cases, the problem can be due to Wi-Fi connectivity, setup issues, or outdated software. Go through each troubleshooting step above carefully and check the camera after doing each step.
For a quick solution, make sure that you are using an appropriate 2.4 GHz Wi-Fi network, restart the Arlo camera and app, keep the camera close enough to the router during setup, ensure the battery has enough charge, and check for any available firmware updates. With these simple checks, you can get the Arlo device connected and working normally again.