So, you are onto starting a podcast. You have pitched the idea to your close friends, some mentors, done your research and you are good to go. Now, you have a topic ready to explore and a theme to talk about during the podcast.
You also have a microphone ready, oh, and a Mac computer. What else? Well, the next step is to go ahead and record the podcast. Let us now take you through recording your first voice podcast on Mac.
Recording your podcast
Part of planning for the recording will require you to find a space where there is the least extraneous noise. You could record your podcast in a study room, bedroom, or any space but with minimal background noise. It is better to record in a place with furniture and carpet to absorb any reverberations on your voice. Once you have the right space, it is time to assemble the hardware and get down to business.
For starters, you can use your Mac without an external microphone to record but having the latter is far much better. Many software tools can help you record your first podcast on your Mac. The most popular ones are GarageBand and QuickTime player, but there are other excellent third-party options you can use.
Let us look at how you can use some of the popular tools to record voice Podcasts on Your Mac.
Some of the Popular tools to record voice Podcasts on Your Mac
Using QuickTime to record podcasts
QuickTime is a powerful in-built application in your Mac, which you can use to record, edit, and share files in both audio and video formats on your Mac. This means that it is also quite effective for recording your podcast. To record a podcast using QuickTime:
- Click on the QuickTime icon in the dock at the bottom of the screen. If the icon is not there, you can open QuickTime from the Applications folder or Spotlight.
- On the top left “File” menu, choose the kind of podcast you would like to use. In this case, select “New Audio Recording.”
- The “Audio Recording” window opens, showing various controls. To start recording your podcast, click on the red “Start” button.
- After the recording session is over, click on the “Stop” button. This will automatically save the file in your “Home” folder under “Movies.” The audio will be titled “Audio Recording.m4a.”
Using Podcast Capture to record podcasts
This is another powerful in-built application in your Mac that can come in handy when recording a podcast. Podcast Capture offers you an easy way with recording but has limited functionalities when editing your audio.
All you need to do is go to your “Applications” and click on the “Utilities” folder. The steps to follow on starting a recording and stop once you are done are provided onscreen. Once you are done with the recording, you will stop then save it in the name you will remember.
Using GarageBand Application to record podcasts
GarageBand is another cool tool native to all Mac computers loved by many podcasters. It is a reliable tool for recording podcasts, especially if you are on a budget and need simplicity and a smooth learning curve. So how do you go about creating a podcast using GarageBand? Here are a few easy steps to follow:
- Set up a template: when you first open the GarageBand application, it will prompt you to create a new GarageBand project. Select “Empty Project” as you will be making a custom recording template for your podcast. The main GarageBand window will open and prompt you to add your first track. Your Track will appear in the workspace in the upper right, with a default name, “Audio 1”. You will have the setup ready for recording.
- Proceed to choose a name for your podcast audio and save the location where your podcast will be stored. Proceed to click the “Create” tab.
- You can choose either a single track or multitrack setup, depending on whether you are recording solo or with one or more guests.
- If you are recording solo, all you need to do is hit the “Record” button in the transport. Alternatively, you can use the shortcut “R.”
- Double-check that your mic settings for the track are correct and record a test to make sure your levels are as good as you want them to be. Depending on whether your voice is too loud or too soft, you can make adjustments to the interface to compensate.
NB: By default, GarageBand only records one track at a time. Hence, if you want to enable multitrack recording, go to the menu bar and choose “Track” click on “Configure Track Header” to add the record-enable button to each track.
Press the “Record” button and get down to business. That is it!
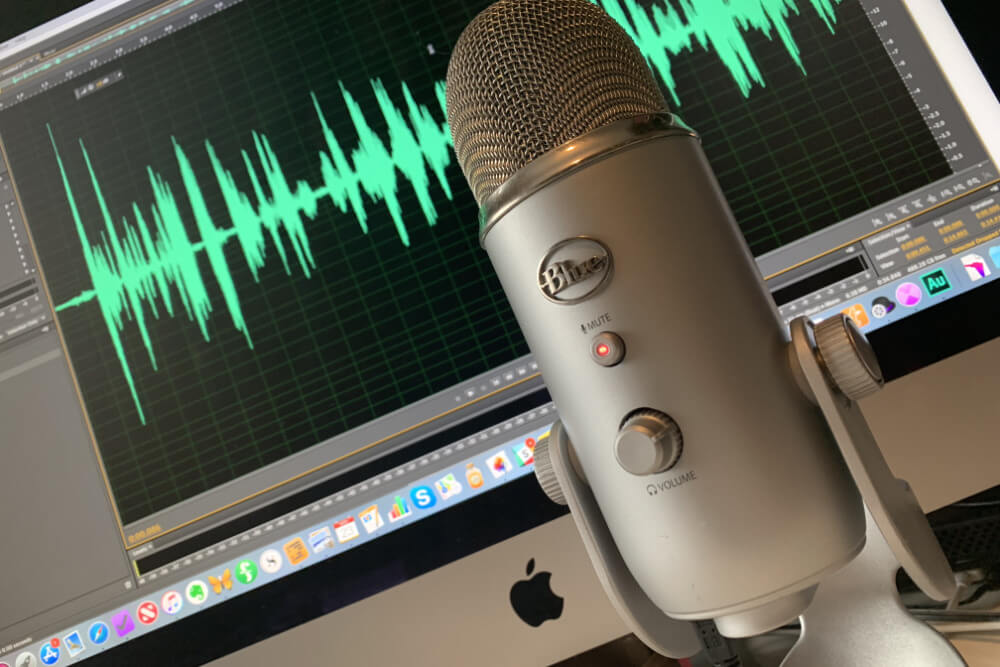
When the recording session is over, click on the red button to stop recording. A waveform will be displayed on the workspace. You may use the spacebar and the recording controls that include playing and rewind of your recording to listen to the audio.
You will realize that your audio will likely be in .m4a upon completion of recording. Podcast platforms will accept different audio formats like the .mp3, FLAC, etc. You can choose to convert audio on Mac to a different format such as .mp3, which are more popular and mainstream. You can use GarageBand to convert or, better even, use an external tool to help you do this faster.


Editing podcasts in GarageBand
Having recorded your podcast, you have done the more significant part. It is time to prepare it for publishing by editing. If you have used GarageBand in recording the audio, it will be easier to edit. However, if you recorded using QuickTime or any other app, you can still import it to GarageBand and edit from there.
To do so:
- Import the audio you intend to edit into GarageBand. You can do so by creating a new Project as if you are recording anew.
- Drag the m4a file from the QuickTime app and drop it into the GarageBand main window. To edit the audio, you can trim, crop, or even move it and add fun effects. Also, you can add jingle and sound effects to the audio or even artwork to your podcast.
Time to export your podcast
Once you are done editing and converting your audio file, it is time to export the podcast and prepare to share it with your audience. To export it:
- Click on “Export Podcast to Disk”
- Select the desired output
- Click “Export” to complete the process, as well as choose the output filename. The podcast will be created and will be ready to play.
Final Remarks
Podcasting has been growing in popularity in recent years. Part of the reason is that it has become increasingly easy and cost-effective to produce podcasts. If you are using a Mac computer, then you might have noticed that it is more or less plug and play. There are nice tools that will help you get start Record Voice Podcasts on Your Mac without having to break the bank.